How to assemble a fabric display: two systems
The fabric displays in our range work in one of two ways. That decides how the graphic goes on, so first check which system you have.
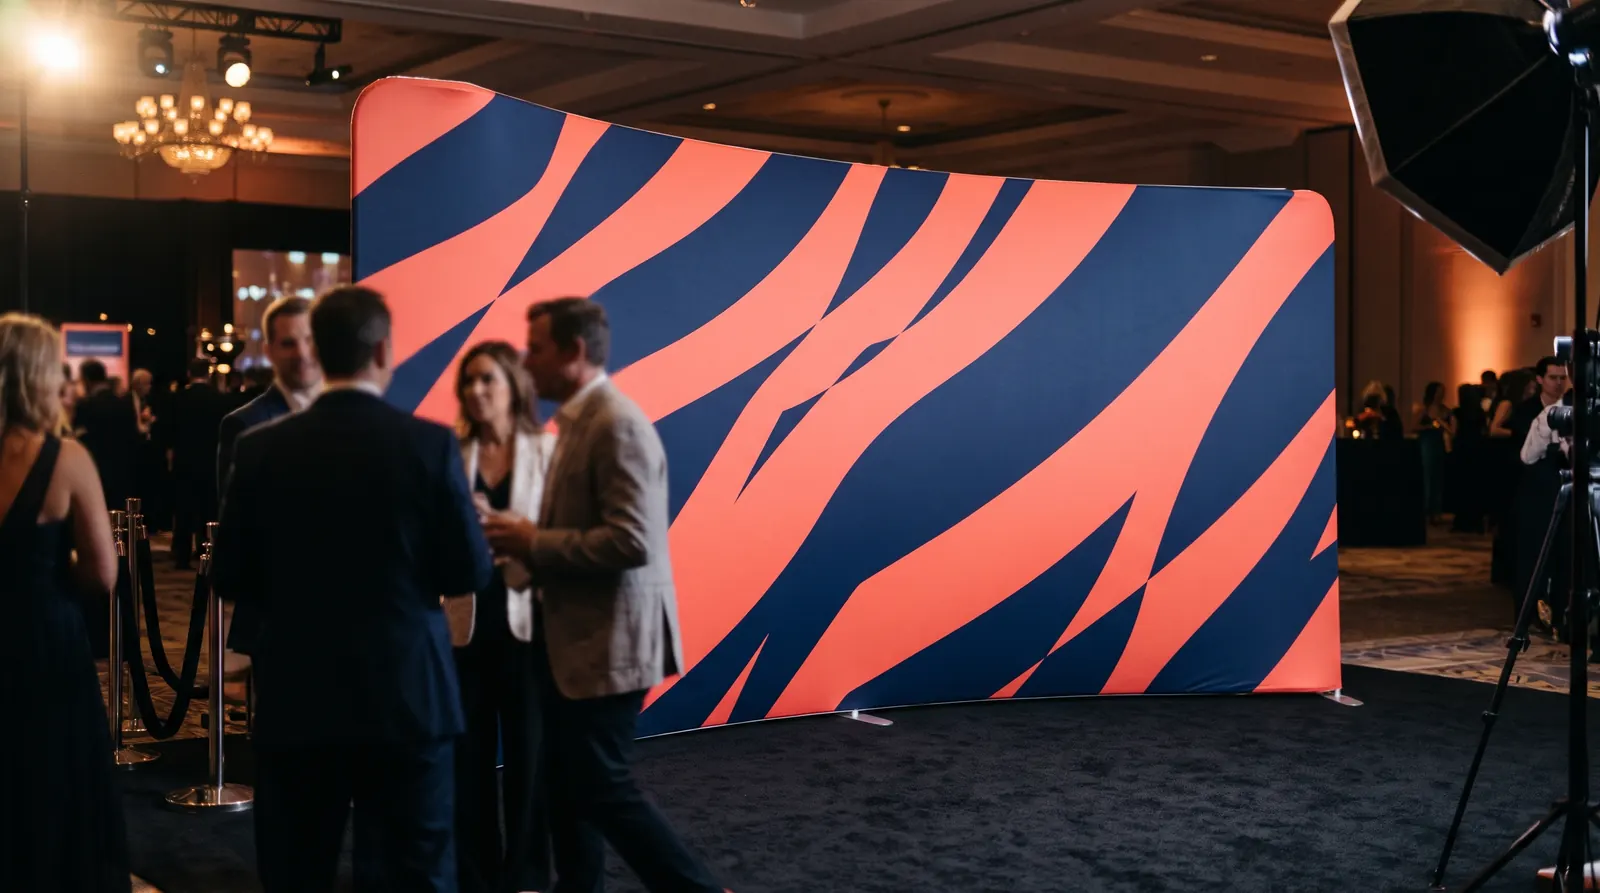
The first is a frame of 32 mm aluminium tubes with a sewn sleeve that zips shut. That is how Atlantis displays work, such as the Atlantis straight display wall, Atlantis curved display wall and Atlantis S. The second is a frame of profiles with a groove round the edge, into which you push the silicone strip sewn along the edge of the fabric, known as SEG. That is how the Display wall MEGA SEG, LED BOX PRO display wall, Display wall BACKLIGHT and LUNIX work.
| System | Sizes | Frame and graphic | People and time |
|---|---|---|---|
| Atlantis sleeve display | 250–650 x 230 cm | 32 mm tubes, zipped sleeve | 1 person up to 300 cm, 2 for larger; 10–20 min |
| MEGA SEG | 100–150 x 200 cm | 4.2 cm profile, 10x3 mm silicone edge | 1 person; about 10 min |
| Backlit walls | 100–600 x 250 cm | 6.5–12 cm profile, 12x3 mm silicone edge, lighting | 2 people from 2 m wide; 20–60 min |
Times are a guide for a repeat build. LUNIX and LED BOX PRO frames go together without tools, and the instructions supplied with each model describe its connections.
What to prepare before you start
- Space — a level floor about 1 m wider than the display on each side. Larger frames are easier to build lying down, so you need floor space too.
- A clean surface — lay out the transport bag or a sheet so light-coloured fabric does not pick up dirt from the floor.
- Clean hands — greasy marks show from far away on a white background. Cotton gloves help with pale graphics.
- Labels — check the stickers or numbers on tubes and profiles, and the top marking on the graphic.
- Power — for a backlit display, find the socket and bring an extension lead.
Fabric display assembly step by step
- Unpack and sort the parts
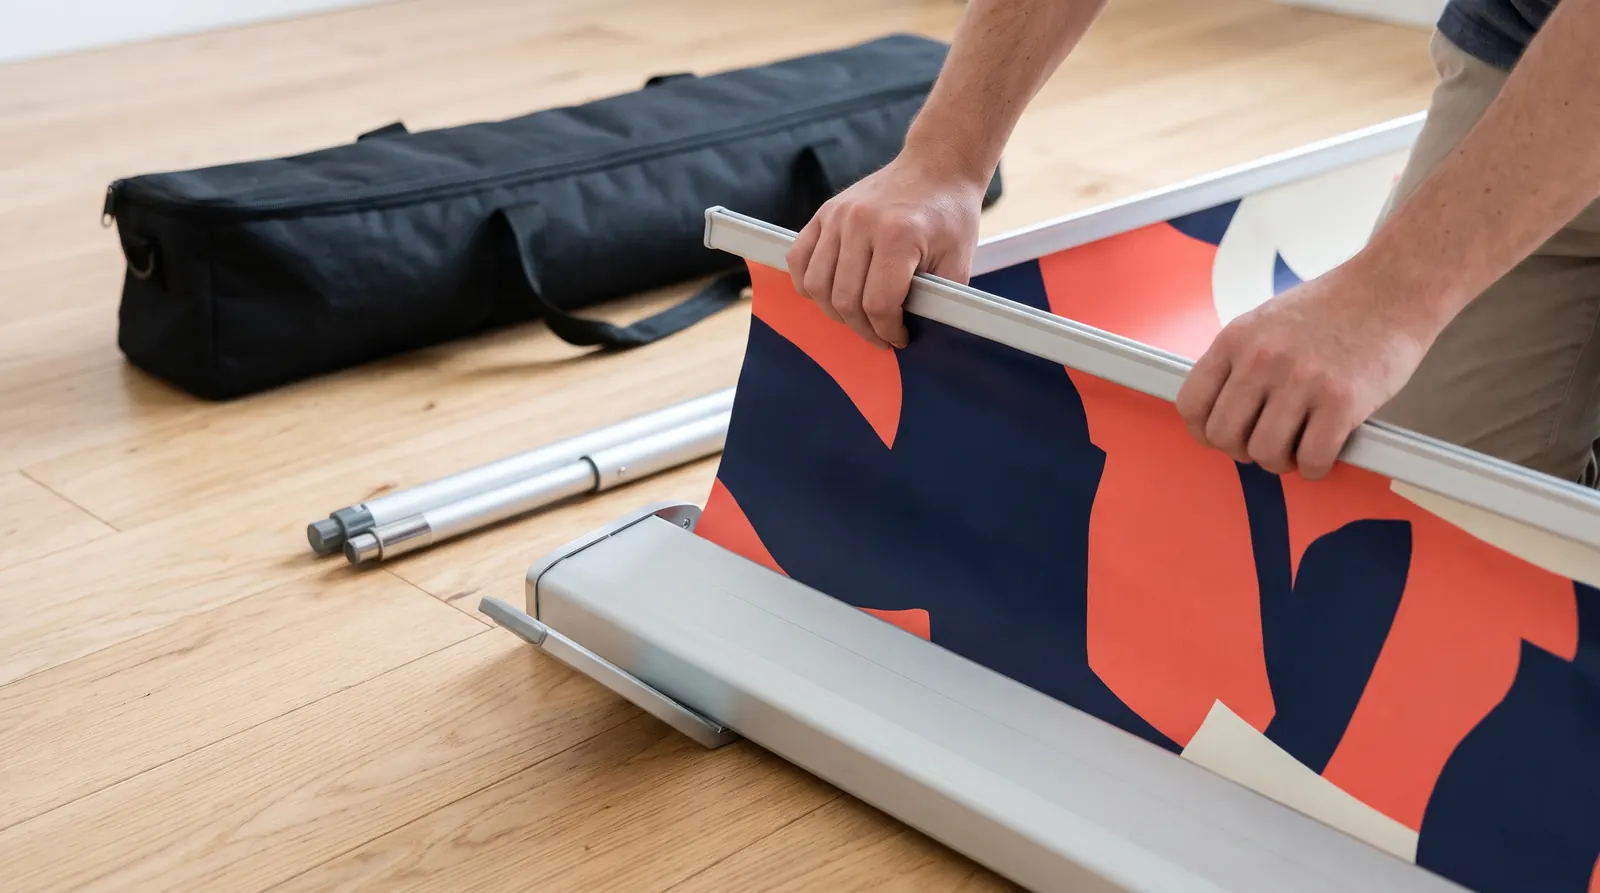
Take the tubes or profiles, connectors, feet and graphic out of the bag. Lay the parts out by their labels and put the fabric on a clean surface, off the floor.
- Build the frame
On a sleeve display, join the tubes by number until the clips click in. On a profile frame, join the sides with connectors at the corners and joints. A larger frame is easier to build lying flat on the bag or a sheet.
- Fit the feet and stand it up
Screw or clip on the feet where the instructions show. Stand the frame upright and check it is straight and does not wobble when gently pushed from the side.
- Prepare the lighting
On a backlit display, connect the lighting cables and power supply as the instructions describe, but do not switch on yet. Route the cables so they do not end up between the profile and the fabric.
- Fit the sleeve
Find the top marking, slip the sleeve over the top of the frame and pull it down evenly on both sides. Zip it closed at the bottom and line the seams up with the edges of the frame.
- Press in the silicone edge
On a profile frame, press the strip in at the four corners first, then the middle of each side, and finally along the remaining sections. Use your thumbs and keep the fabric evenly tensioned.
- Switch on and check the light
Plug the power supply in and check the graphic glows evenly. Run the power cable behind the display and tape it to the floor so nobody trips over it.
- Check it from a few metres away
Step back 3–4 m and look at the whole display. Smooth out wrinkles, straighten seams and lifting corners, then move the display into its final position, away from walkways and doors.
How to fit a silicone edge graphic without wrinkles
The most common mistake is pushing the strip in continuously along one side. The fabric creeps in one direction and you end up a few centimetres short at the other end. Instead, seat the four corners first, then the middle of each side, and only then the sections in between.
Press the strip in with your thumbs, never with knives or screwdrivers, which can cut the seam. If a diagonal wrinkle appears, pull out the nearest corner and seat it again, shifting the fabric slightly. Small creases from transport usually disappear once the fabric is tensioned. Stubborn ones can be steamed out following your printer's advice.
With a sleeve the idea is the same: pull it down evenly on both sides and keep the side seams running along the edges of the frame. A crooked seam means the sleeve is twisted.
Backlit displays: what to remember
Plan a lit display together with its power supply. At exhibitions, electrical connections are usually booked through the organiser, and without one a backlit frame is just an ordinary fabric display. Also check you have the right power supply for the model and size, such as the Power supply for LUNIX for the LUNIX system, as power supplies are matched to a specific system and frame size.
For backlit displays, order fabric intended for backlighting. Ordinary fabric on a lit frame can show shadows of the profiles and uneven patches of light. Before your first show, put the display up at the office, switch the light on in a darkened room and check the graphic glows evenly across the whole surface.
Taking it down and packing
- Switch off and unplug the power if the display is backlit.
- Pull a silicone edge graphic out starting at a corner and working along the side. Unzip a sleeve and slide it off the frame, taking care around feet and connectors.
- Fold the fabric loosely, print side in, and keep it in a separate bag away from metal parts.
- Take the frame apart in reverse order. Coil and secure any lighting cables.
- Pack the tubes and profiles into the bag the way they arrived. Check you have every connector and foot.
Common assembly mistakes
- Tubes in the wrong order — the frame is skewed and the sleeve wrinkles in one spot. Compare the labels with the instructions.
- Sleeve upside down — the logo ends up at the bottom. Check the top marking before you start pulling the fabric on.
- Fabric caught on a connector — a sharp edge can tear it. Pull the sleeve on slowly and avoid protruding parts.
- A trapped cable — on backlit displays a cable pinched between profiles stops working. Route it where the instructions show.
- A graphic from another model — even at the same width, sizes differ by a few centimetres. We list the graphic size with every product.
Next steps

Atlantis straight display wall
from €145.66 incl. VAT4 versions
In stock — ships in 1–2 business days

Display wall MEGA SEG
from €72.59 incl. VAT3 versions
In stock — ships in 1–2 business days
LED BOX PRO display wall
from €584.59 incl. VAT5 versions
In stock — ships in 1–2 business days

LUNIX
from €798.94 incl. VAT10 versions
In stock — ships in 1–2 business days
You will find displays and frames in display walls, and lighting and parts in accessories, such as the Light bracket for Atlantis displays. If you are still choosing, read pop up stand vs fabric display, and for cleaning and storing fabrics see looking after your displays. Setting up a magnetic stand is covered in how to assemble a pop up stand.
You can ask us about printing in a quote request or have it printed by any print shop. We list the graphic size with every product.
Frequently asked questions
How long does it take to assemble a fabric display?
One person puts up a 250–300 cm sleeve display in 10–20 minutes and a MEGA SEG frame in about 10. Large backlit walls 3–6 m wide take two people anything from 20 minutes to an hour, as there are more profiles and the lighting to connect. The first build with the instructions usually takes about twice as long as later ones.
How do I get wrinkles out of a fabric display?
First check the graphic sits symmetrically. With a silicone edge, pull out the corner nearest the wrinkle and seat it again; with a sleeve, line the seams up with the edges of the frame. Small creases from transport usually vanish once the fabric is tensioned. Stubborn ones can be steamed out, following the advice of the printer who made the graphic.
Do I need tools to assemble a fabric display?
No. Sleeve displays join with push-button clips, and according to their specifications LUNIX and LED BOX PRO frames assemble without tools. You press the silicone edge in with your thumbs. Do not use knives or screwdrivers, as you could cut the seam or scratch the profile. If the kit includes a key or other aid, the model's instructions explain it.
How should I fold display fabric so it lasts?
Fold it loosely, print side in, with no sharp creases and without kneeling on it. Keep it in a separate bag away from tubes, profiles and feet that could snag it, and store it somewhere dry. Before the next build, unfold it for a while; most creases disappear once it is tensioned on the frame.