How to assemble a pop up stand: before you start
This guide covers magnetic pop up stands such as the Standard Magnetic POP UP straight 3x3 with case, Standard Magnetic POP UP curved 3x4 with case, POP UP Straight with Ambona case and Black Pro Magnetic Pop Up straight with Ambona case. They all work on the same principle, but the number of bars, the locking method and the panel order can vary. Always keep the instructions for your model to hand.
One person can put up a 3x3 stand. For a 3x4, and for hanging panels about 2.3 m tall, a second pair of hands helps. You need a level floor about 3.5 m wide and a ceiling higher than 2.5 m, because the panels hook on from the top.
Plan for depth too. A straight stand is about 31 cm deep once open, a curved 3x3 about 68 cm and a curved 3x4 about 95 cm. Mark that space on your stand plan before placing the counter and leaflet stand, as moving a stand with panels on risks them slipping off.
What is in the kit
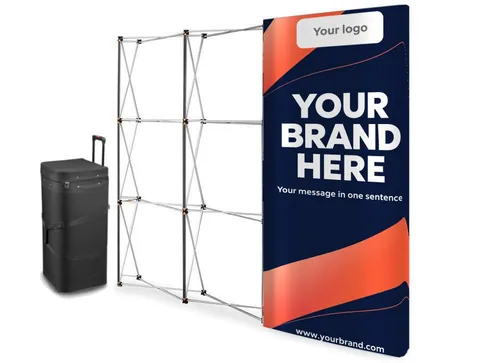
- Frame — a folded aluminium scissor frame. On the Black Pro and Premium models the frame alone weighs 4–7.5 kg.
- Magnetic bars — horizontal profiles that clip onto the frame hubs. The panels stick to these.
- Graphic panels — printed panels with magnetic tape on the back, a top strip with hooks and a bottom strip.
- Case or Ambona — the transport case. For the Ambona case you can add a counter top such as the Ambona counter top — black.
- Lights — included or bought separately, for example the LED light for POP UP displays or Halogen light for POP UP displays.
Pop up stand assembly step by step
- Prepare the space and unpack
Choose a level floor about 3.5 m wide. Open the case or Ambona and take out the frame, magnetic bars, panels and lights. Lay the rolled panels on a clean surface and check their numbering on the back.
- Open the frame
Stand the folded frame upright on its feet. Hold opposite sides and pull it open evenly, first across and then upwards, until the frame is almost fully extended. A curved frame will take on its curve by itself.
- Lock the clips
Push the hubs along the top edge and the sides until the clips click into place. The frame should stand straight and not fold when you let go. If a clip will not engage, open the frame a few centimetres more.
- Fit the magnetic bars
Clip the horizontal bars onto the front hubs of the frame, on every row shown in the instructions for your model. Check each bar is held firmly at both ends and does not stick out beyond the frame.
- Hang the first panel
Start with the panel marked as number one. Hook its top strip over the top edge of the frame and let the panel drop. Line it up with the edge of the frame and press it against the bars so the magnetic tape grips along its full height.
- Hang the remaining panels
Hang each panel right next to the previous one, edge to edge, keeping the artwork lined up across the joins. Press the panels on from top to bottom. Finish with the end panels, which wrap round the sides of the stand.
- Fit the lights
Clip the lights onto the top edge of the frame, evenly spaced above the artwork. Run the cables down the back of the stand and secure them so nobody trips. A 150 W halogen light gets very hot, so keep it at the distance given in the instructions.
- Check the stand from a distance
Step back 3–4 m and look at the whole stand. Straighten crooked panels and close gaps or lifting corners. Finally place the counter in front, and if you use an Ambona case with a top, fit its graphic and counter top.
The first build usually takes 30–40 minutes. After a few shows you will put up a 3x3 stand in 15–20 minutes and a curved 3x4 in about 25.
Taking it down and packing
- Switch off the lights and let them cool. A 150 W halogen gets very hot, so do not pack it straight away. Then remove the lights from the frame.
- Take off the end panels, then the remaining panels, starting from the outside. Lift each panel by its top strip, unhook it and hold it so it does not fall.
- Roll each panel loosely, in the same direction it was rolled on delivery, without bending the edges. Place the rolled panels in the case, with the protective sleeve between them if one is supplied.
- Remove the magnetic bars and store them separately so they cannot scratch the graphics.
- Release the clips and fold the frame, pressing it in evenly from the sides and the top. Never force the frame closed while a clip is still locked.
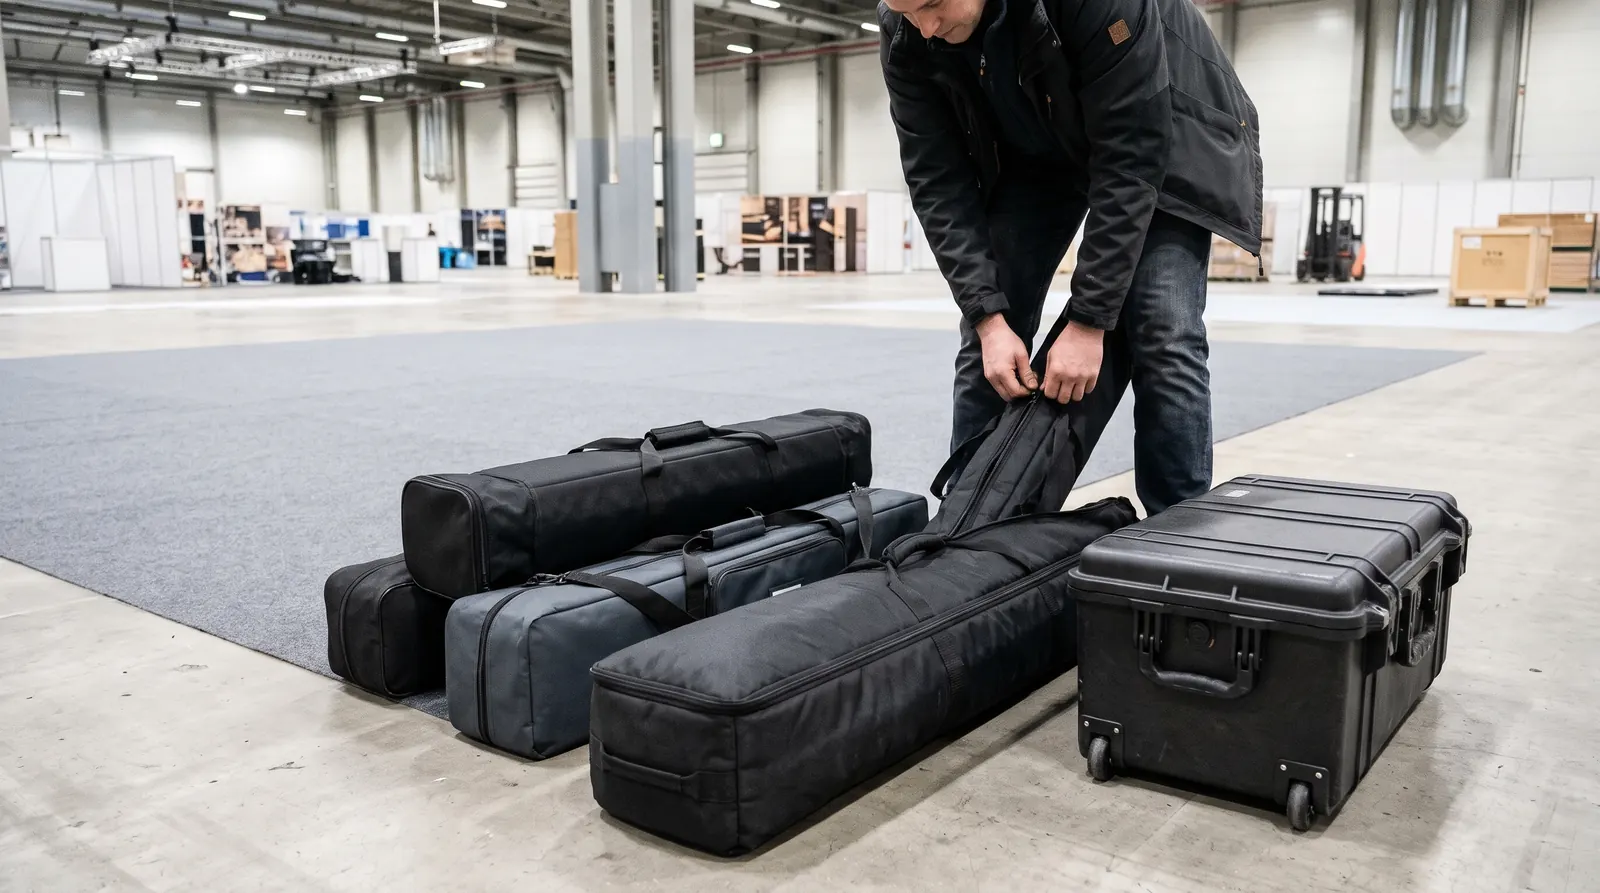
- Put the frame in the case with the panels and lights beside it. Check you have everything before leaving the hall.
Common problems during set-up
- The frame will not open — usually because you are pulling from one corner. Hold opposite sides and open it evenly, first across and then upwards. Do not yank it, as you can bend an arm of the frame.
- Gaps between panels — a panel is crooked or in the wrong order. Check the numbering on the back, lift the panel by its top strip and slide it against its neighbour.
- A panel lifts at the bottom — after a trip in a cold vehicle the material is stiffer. Let the rolled panels sit in the warm hall for a while, then check the bottom strip is in place.
- The graphics do not fit the frame — panels from another system have a different height and bar spacing. We list the graphic size for every model on its product page.
- The stand wobbles — the frame is not fully open or the floor is uneven. Check every clip is locked and the feet sit flat.
Hook and loop pop up: what is different
On the Velcro POP UP Straight you open and lock the frame in the same way, but instead of magnetic bars and panels you attach a fabric graphic with hook and loop fastening, following the markings in the instructions. Start at the top, working from the centre outwards, then straighten the sides and bottom, stretching the fabric evenly. The kit weighs 8.5–10 kg, so it is easy to carry in one bag.
Before the show: a trial build and a checklist
Put a new stand up for the first time at the office, ideally a week before the event. You will see whether the panels are in the right order, whether the artwork lines up at the joins and whether all the bars are there. Take a photo of the finished stand and note the panel order so you are not guessing on site.
- In the case — frame, magnetic bars, all panels and end panels, lights and instructions.
- In a spare bag — a multi-socket extension lead, tape for cables, a microfibre cloth, a spare bar and gloves for carrying the case.
- On site — find the power socket and check the stand floor is level before you open the frame.
Storage, spare parts and next steps
Store the stand somewhere dry, in its case, with nothing heavy on top. Lost or worn parts are available in accessories, for example Magnetic tape for display wall POP UP - 28 linear metres or Frame profile for display wall POP UP. If the stand travels a lot, consider a transport case or an Ambona, which protects the panels better. See also our guides to transport and storage and cleaning and looking after displays.
Standard Magnetic POP UP straight 3x3 with case
€454.72 incl. VATIn stock — ships in 1–2 business days
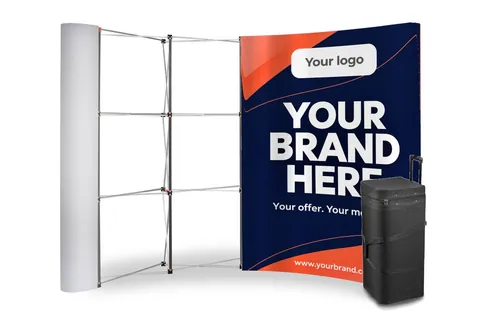
Standard Magnetic POP UP curved 3x4 with case
€486.88 incl. VATIn stock — ships in 1–2 business days
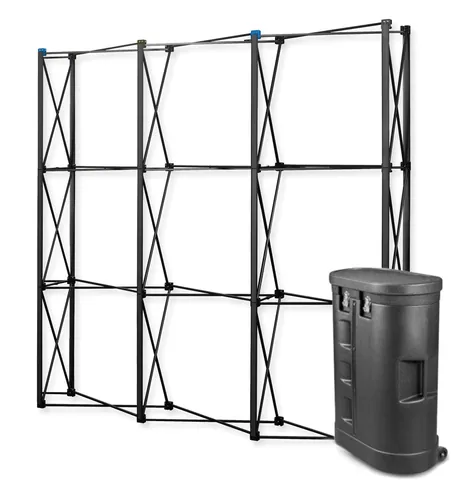
Black Pro Magnetic Pop Up straight with Ambona case
from €437.28 incl. VAT2 versions
In stock — ships in 1–2 business days
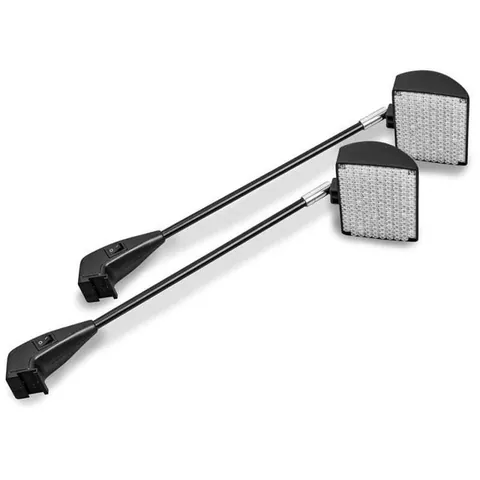
LED light for POP UP displays
€72.59 incl. VATIn stock — ships in 1–2 business days
Still choosing? Compare it with a lighter fabric display in pop up stand vs fabric display. All models are in display walls. You can ask us about printing new panels in a quote request or have them printed by any print shop. We list the graphic size with every product.
Frequently asked questions
How long does it take to put up a pop up stand?
An experienced person puts up a 3x3 pop up stand in 15–20 minutes and a curved 3x4 in about 25. The first build with the instructions usually takes 30–40 minutes, as you need to check the order of panels and bars. Taking it down and packing takes about 10–15 minutes. An uneven floor, lack of space and fitting lights all add time.
Can one person assemble a pop up stand?
Yes, you can put up a 3x3 stand on your own, as the frame opens on its feet and does not need holding. A second person helps with a 3x4, with hanging panels under a high ceiling and with carrying the kit. It weighs 22–29 kg in its case and 31–38 kg in an Ambona case, so carry it to the car together.
How should I roll pop up panels?
Roll them loosely, in the same direction they were rolled on delivery, and never fold them. Do not squeeze the roll with tape or a band directly on the print. Store the panels in the case or a tube, somewhere dry and at room temperature. A creased laminate leaves a permanent mark that shows in every photo of your stand.
What if the pop up frame will not fold?
First check that you have released every clip along the top and sides. Then remove all magnetic bars, as even one stops the frame moving. Fold the frame evenly, pressing in from the sides and the top at the same time. If an arm is bent, do not force it; contact us and we will find the right spare part.