How to set up a roller banner: the short version
One person can usually set up a roller banner in a minute or two, with no tools. A ready-to-use kit is the base with the graphic fitted, plus the pole, all packed in the carry bag. All you need is a flat spot as wide as the base and about 50 cm of clear space in front of it so you can pull the graphic up comfortably.
There is one golden rule: always guide the graphic by hand. The spring in the base is constantly pulling it down, so if you let go of the top rail it will slam into the base and can crease the print. The guide below works for all the roller banners in our range; telescopic models are covered separately.
Putting up and packing away a pull up banner, step by step
Steps 1–6 cover setting up and steps 7–9 cover taking down. Take your time the first time round; by the third you will not need the instructions.
- Position the base
Take the banner out of its bag and lay the base on a flat, level floor with the graphic side facing the direction people will approach from. Check there is about 50 cm of clear space in front of it.
- Swing out the feet
If your model has swivel feet under the base, turn them out fully, at right angles to the base. The feet widen the footprint and help stop the banner tipping over.
- Assemble the pole
Join the pole sections, pushing each one fully home. On telescopic models, extend the pole and lock it at the right height for the graphic.
- Slot the pole into the base
Push the bottom end of the pole into the socket on the base, usually at the back, halfway along. The pole should stand upright and firm.
- Pull up the graphic
Hold the top rail with both hands near its ends and pull the graphic straight up in one smooth movement, without jerking. Stand in front of the base, not to the side.
- Hook the rail and check
Hook the top rail onto the tip of the pole and slowly release the graphic until the spring tension holds it taut. Check that the print is straight and wrinkle-free and the stand is steady.
- Lift the rail off the pole
To take it down, hold the top rail with both hands, lift it slightly and unhook it from the pole tip. Keep hold of the graphic, as the spring will start pulling it down.
- Roll the graphic into the base
Guide the rail down slowly, straight above the slot in the base, until the graphic is fully inside. Do not let go halfway and never roll up a wet or dirty print.
- Pack the kit away
Remove the pole from its socket, separate the sections, fold in the feet and put the base and pole into the bag. Check nothing has been left on the floor.
Roller banners with a telescopic pole
The Wave roller banner, the Clip roller banner and the Exclusive Plus roller banner come in a 220 cm format with a telescopic pole instead of a fixed-length one. You set them up in the same way, with one difference at step 3: instead of joining sections, you extend the pole and lock it at the height you need.
Set the height so that the graphic is taut but not pulled out of the base as far as it will go. If the print ripples or the rail does not reach the top of the pole, adjust the pole by a few centimetres. A telescopic pole also helps under a low stand ceiling, because you can bring the graphic down a little.
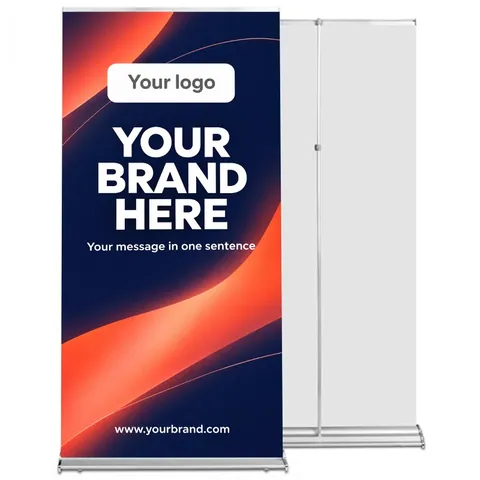
Wave roller banner – telescopic pole, graphic swap
from €76.70 incl. VAT4 versions
In stock — ships in 1–2 business days
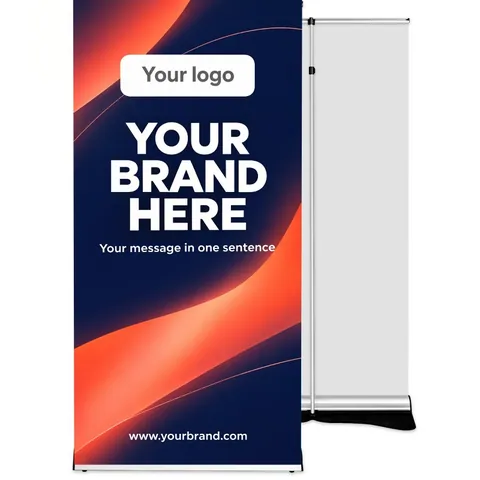
Clip roller banner – graphic swap, telescopic pole
from €89.38 incl. VAT2 versions
In stock — ships in 1–2 business days
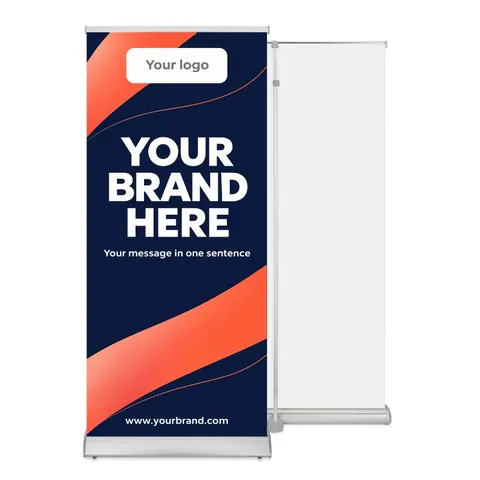
Exclusive Plus roller banner with telescopic pole
from €74.05 incl. VAT4 versions
In stock — ships in 1–2 business days
How to change a roller banner graphic
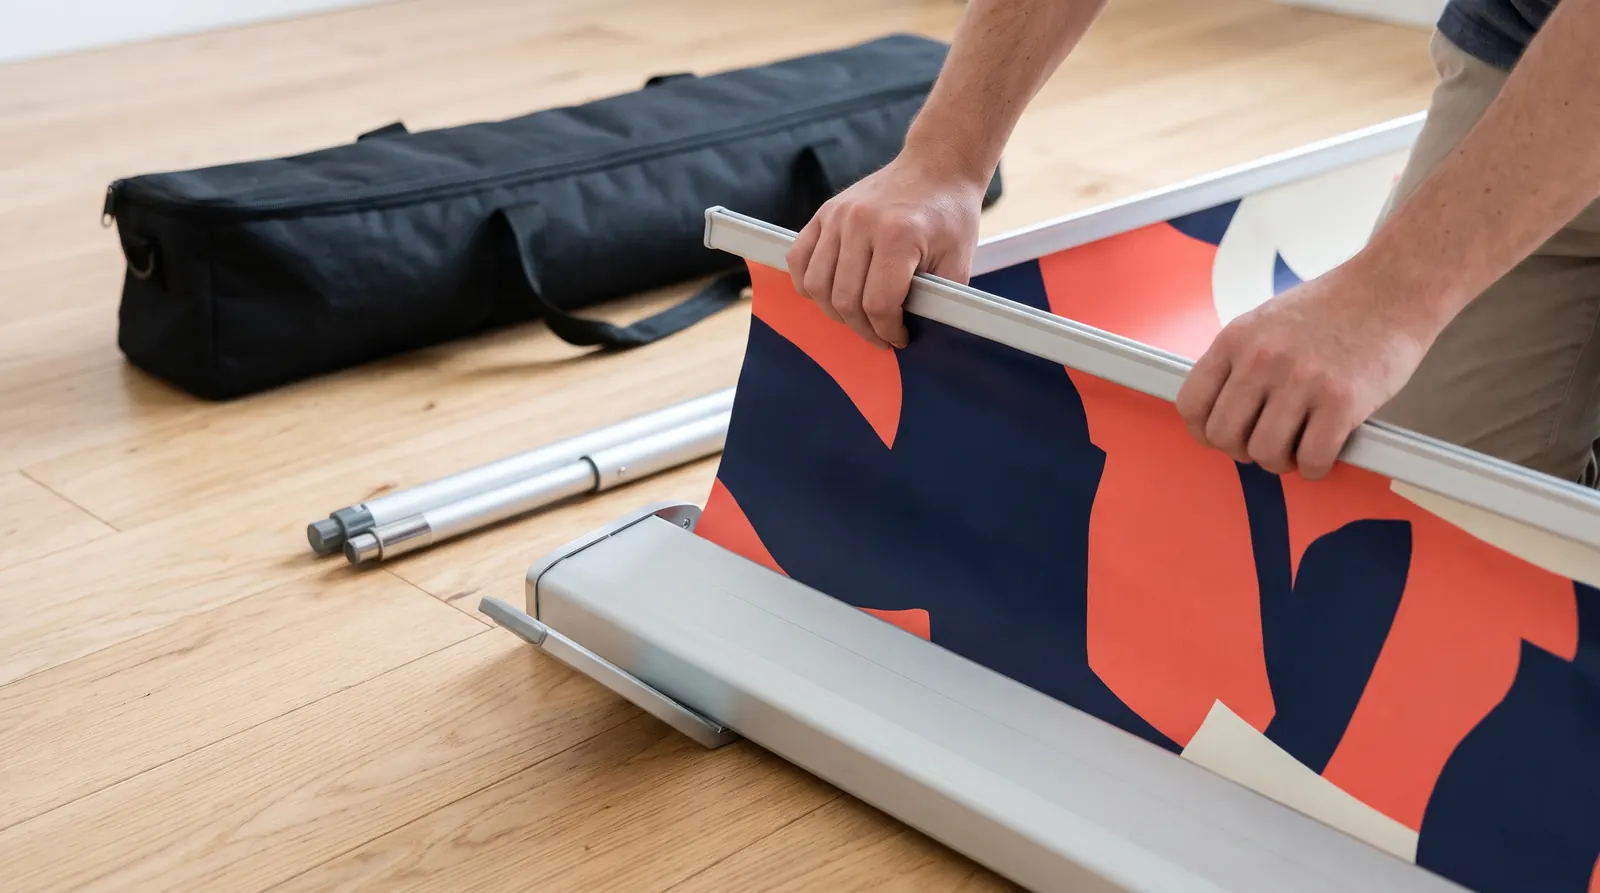
On all our roller banners, the top edge of the graphic is held by an Express Clip snap rail. The bottom is fixed inside the base, onto the spring-loaded roller. Graphic swap models, the Wave and the Clip, are the easiest to re-skin. On others, such as the Standard roller banner or the Pro roller banner, a swap is possible but takes practice.
- Prepare a space — a clean, flat floor or a large table at least 2.5 m long.
- Pull the graphic out fully — lay the banner flat, graphic facing up, and hold or weigh down the top rail so the spring cannot pull it back.
- Open the top rail — prise the snap rail open from one end and slide out the edge of the old print.
- Release the bottom — on graphic swap models, release the bottom fixing as described in the stand's instructions. On classic models the bottom edge is usually stuck to the roller; peel it off slowly and keep hold of the roller throughout.
- Fit the new print — straight and exactly centred. A graphic fitted at an angle will roll up to one side.
- Roll it in and close the rail — let the spring wind the graphic in slowly while you guide it straight, then snap the top rail shut over the new print.
If you have not done it before, ask your printer to fit the new graphic. You can ask us about printing in a quote request or use any print shop; the graphic size is listed on every product page. For file preparation, see roller banner print files.
What not to do with a roller banner
- Do not let go of the graphic — when setting up or packing away. The rail hits the base and the print can crease.
- Do not pull at an angle — pull straight up, evenly with both hands, or the graphic will start to roll unevenly.
- Do not carry it by the pole when it is up — move it by holding the base, or take it down and set it up again.
- Do not use it in the wind — roller banners are designed for indoor use. A large graphic catches the wind like a sail.
- Do not roll up a wet or dusty graphic — moisture and grit stay in the base and damage the print every time it rolls.
- Do not take the base apart — the spring mechanism is under tension. Everything is done without tools.
- Do not leave it in a hot car for long — high temperatures are bad for the print and for plastic parts.
Common problems and fixes
| Problem | Likely cause | What to do |
|---|---|---|
| Graphic rolls up crooked | pulled at an angle, or print fitted off-centre | pull it out and roll it in again, guiding it straight; if it keeps happening, refit the print |
| Graphic ripples when up | pole too short or too long | check all sections are fully joined; on a telescopic pole, adjust the height |
| Rail slips off the pole | pole tip not seated in the rail | hook the rail from behind and check the pole sits upright in its socket |
| Banner wobbles | feet not fully out, or uneven floor | swing the feet out fully and move the stand to a level spot |
| Graphic will not retract fully | rail twisted, or dirt in the base | pull the graphic up, check the slot in the base and roll it in again slowly |
Where to place your roller banner
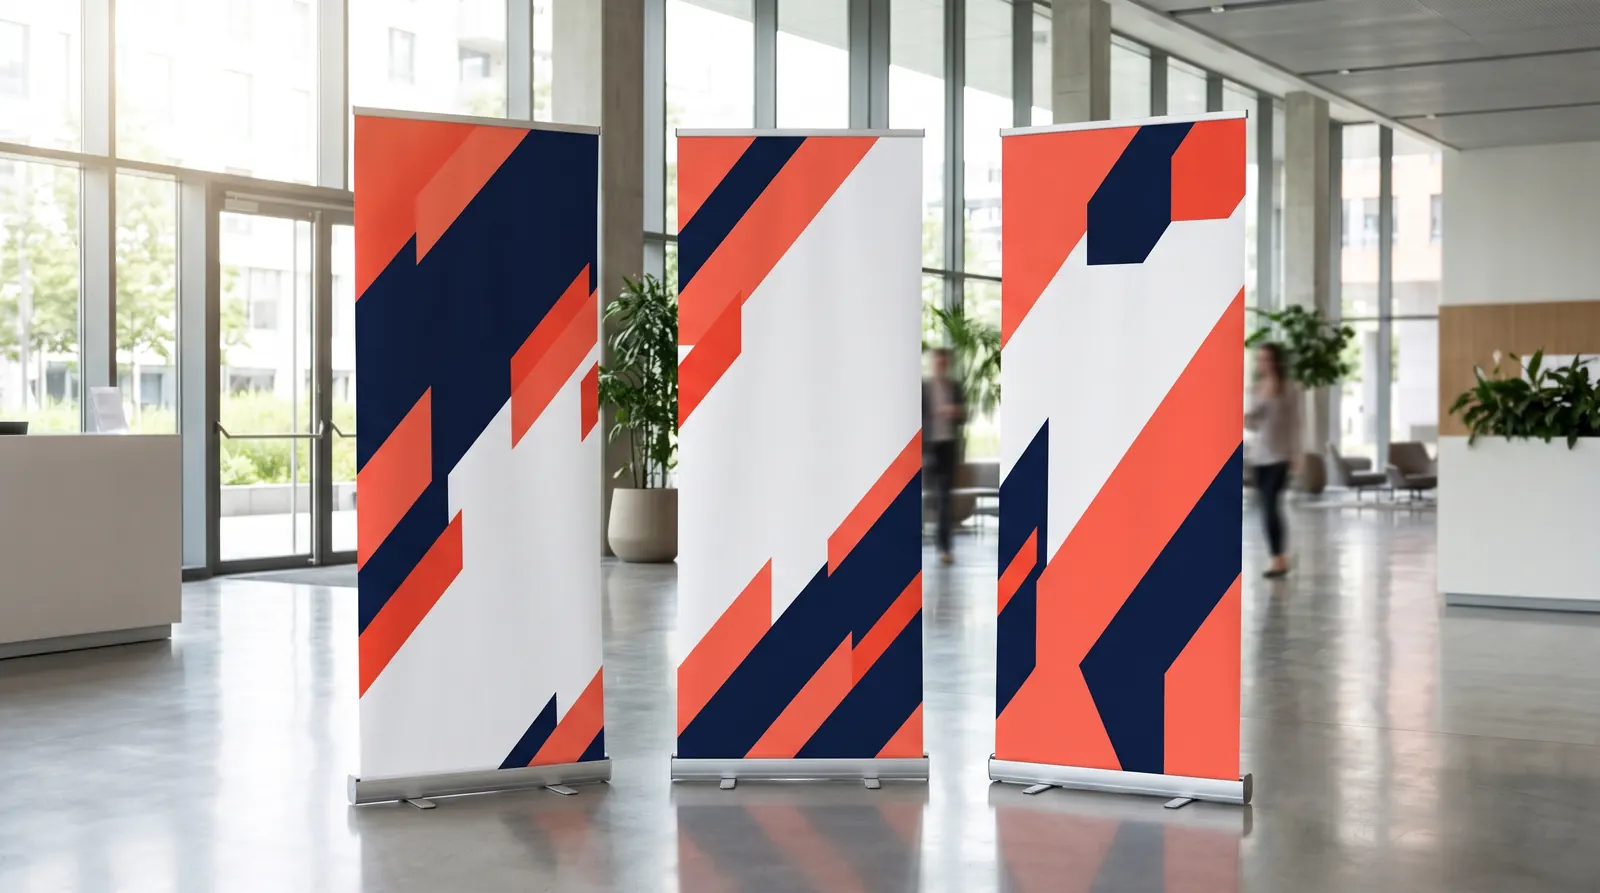
A well set-up banner can still disappear in the wrong spot. Face it towards the main flow of people so the top of the graphic is visible from a distance, above heads. On a stand it works best at the aisle edge or beside a table, not behind the people talking to visitors.
Do not block fire extinguishers, exit signs or escape routes, and avoid placing it right under an air-conditioning vent, as a strong draught moves the graphic. Line up several banners neatly with a few centimetres between bases. If the graphics form one image, put the bases in the right order first and only then pull the graphics up. Shuffling banners that are already up is the easiest way to knock them over.
After the event: check and store
After every outing, check that the graphic is clean and dry, that all pole sections are in the bag and that the base is not cracked. Store the banner in its bag, in a dry room, ideally lying flat. Cleaning is covered in how to clean and store roller banners, and packing several displays into a vehicle in transport and storage.
Need a new roller banner or graphic?
If you want a model that is quicker to set up or lets you change graphics often, see our comparison which roller banner to choose and the roller banners category. In-stock items ship within 1–3 working days with a VAT invoice. For larger quantities or a kit with printing, send a quote request.
Frequently asked questions
How long does it take to set up a roller banner?
One person usually sets up a roller banner in a minute or two, and taking it down takes about the same. Allow a few minutes the first time so you can get used to the pole and how the top rail fixes. You do not need tools or a second person, even for wide models, although at 200 cm it is easier if someone steadies the base.
How do you take down a pull up banner without damaging it?
Lift the top rail off the pole with both hands and guide the graphic down slowly until it is fully inside the base. Do not let go halfway or pull it to the side. Before rolling it in, make sure the print is clean and dry. Finally, remove the pole, separate the sections, fold the feet in and pack everything into the bag.
What if the roller banner graphic will not roll back?
First check that the rail has not caught on the pole and that there is no dirt in the slot of the base. Pull the graphic up again and let it roll in slowly and straight. If the spring still does not wind the print in, the mechanism may have lost tension or been damaged. Do not open the base yourself, as the spring is under tension; contact us instead.
Can you change a roller banner graphic yourself?
Yes, especially on graphic swap models such as the Wave and Clip roller banners. The top edge is held by a snap rail and the bottom is released as described in the stand's instructions. On classic models the bottom of the graphic is usually stuck to the spring-loaded roller, so a swap takes practice and two free hands. If in doubt, have your printer do it.