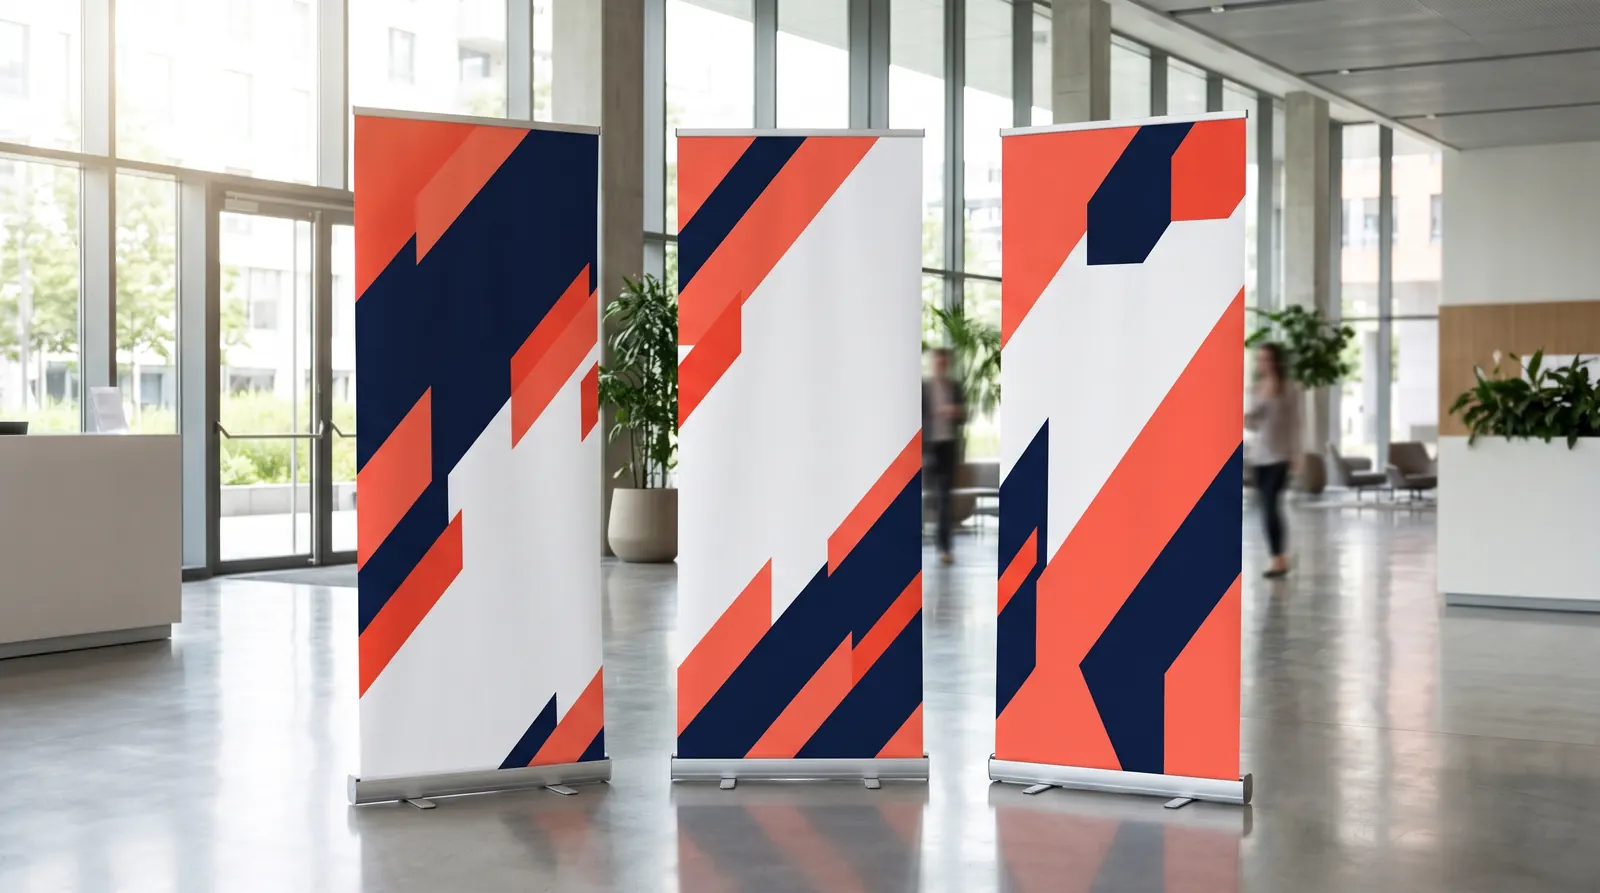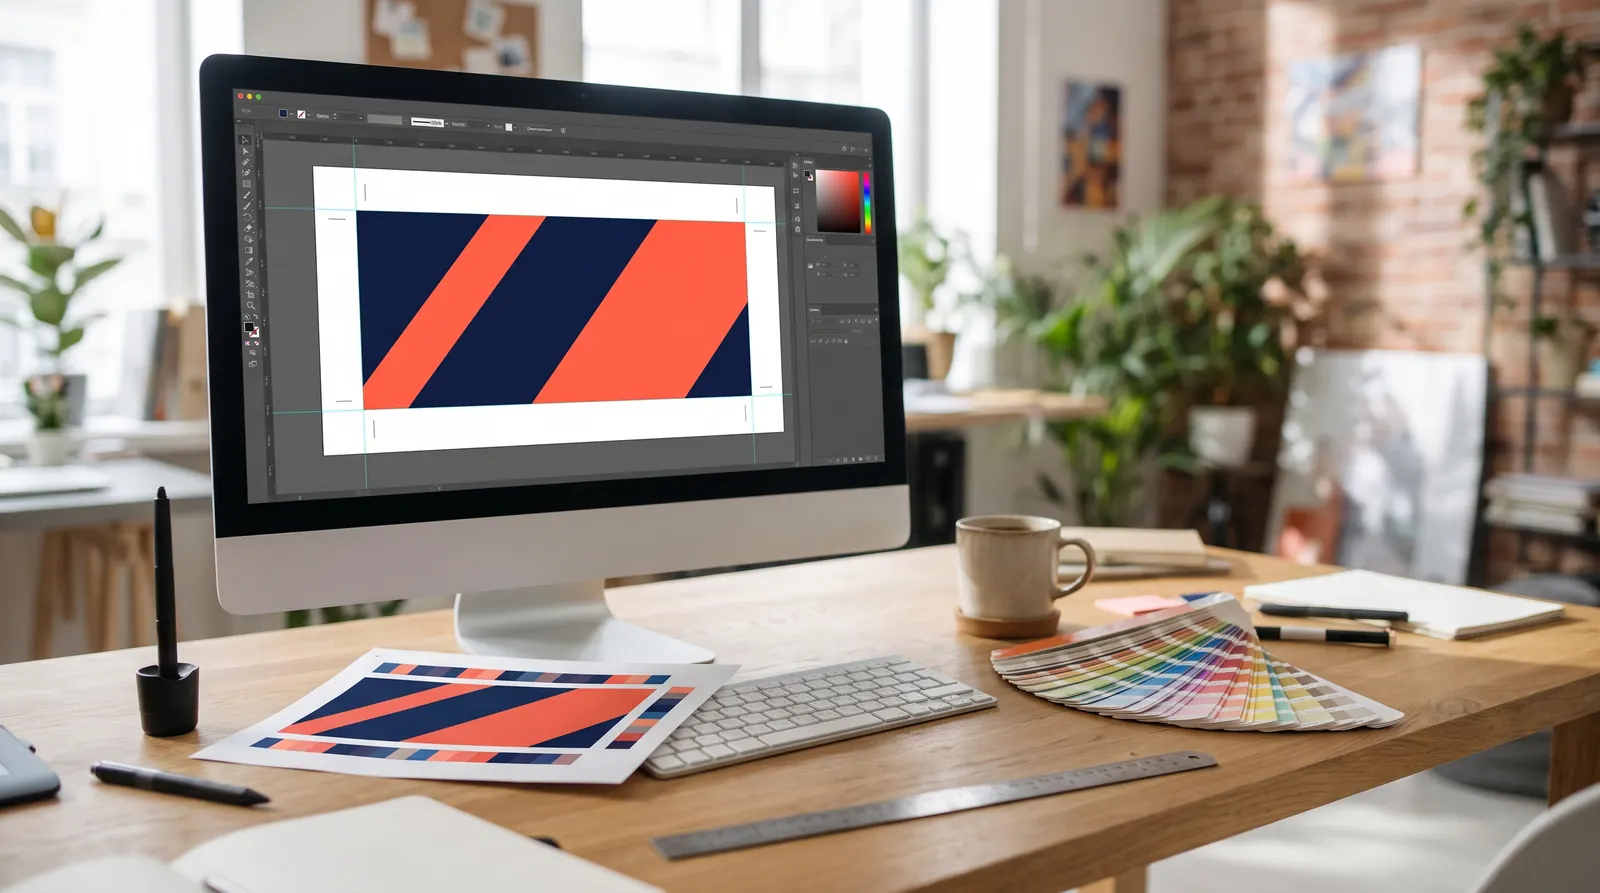
Roller banner artwork: the key specifications
Print-ready roller banner artwork is a file the printer does not have to fix. It has the right dimensions, bleed and safe area, a resolution that suits the viewing distance, CMYK colour and fonts that cannot be substituted. The table below lists values that most large-format printers will accept. If your printer publishes its own specification, follow that instead.
| Setting | Recommendation | Why it matters |
|---|---|---|
| Document size | graphic size from the product page, at 1:1 scale | the print must reach the roller in the base and the top rail |
| Bleed | 3–5 mm on every side | allows for trimming tolerance |
| Safe area | text and logos at least 3 cm from the sides and top | nothing important is trimmed or hidden |
| Resolution | 100–150 ppi at full size | sharp from 1–3 m without a huge file |
| Colour | CMYK with the profile your printer specifies | predictable colour on the final print |
| Text | converted to outlines or embedded in the PDF | no font substitution |
| File format | PDF/X-1a or PDF/X-4, single page | a standard every print shop can open |
The sections below explain each point, show the most common mistakes and finish with a checklist to run before you send the file.
Graphic size: why the print is longer than the banner
An 85 × 200 cm pull up banner shows a graphic 85 cm wide and roughly 200 cm high, yet the print itself is longer. The bottom section winds onto the spring roller inside the base, and the top edge is clamped by the snap rail. That is why the graphic is usually a dozen or more centimetres longer than the visible area. The exact figure depends on the model, so never guess it or copy it from another system.
We list the graphic size with every product in our roller banner range. A 200 cm model such as the Standard roller banner has a different graphic size from a 220 cm model with a telescopic pole such as the Wave roller banner. Set your document to the exact trimmed graphic size, then add the bleed around it.
Full size or 1:10 scale?
A roller banner is easy to design at 1:1 in Adobe Illustrator, InDesign, Affinity Designer or CorelDRAW. A 1:10 scale is used for very large formats, such as display walls several metres wide. If you work at 1:10, images need ten times the resolution, and the bleed and safe area are ten times smaller inside the document. Put the scale in the file name so the printer cannot miss it.
Bleed and safe area on a pull up banner
Bleed is background artwork that extends beyond the trim line. If the cut drifts by a millimetre or two, no white sliver appears along the edge. For roller banners, 3–5 mm of bleed on every side is usually enough. Some printers want a file without bleed and add their own allowance, while others ask for extra length at the bottom, so check before you export. In Illustrator and InDesign you set bleed in Document Setup, and in Canva you can switch on the print bleed guides.
The safe area is the zone inside the graphic where everything that must be seen belongs. The top strip sits inside the rail, and the bottom of a banner is often blocked by people, counters or chairs.
| Edge | Keep clear | Reason |
|---|---|---|
| Sides | at least 3 cm from the trimmed edge | trimming tolerance, edges are less visible at an angle |
| Top | at least 3–5 cm | the snap rail covers a strip of the graphic |
| Bottom (inside the base) | background only | this section is never visible |
| Bottom (visible 30–40 cm) | background, perhaps a web address | hidden by people and furniture, rarely looked at |
Run the background, photos and colour fields right to the edge of the bleed. Keep the logo, headline and contact details inside the safe area, ideally in the upper half of the banner. For layout advice, read our guide to roller banner design: 10 rules for readable artwork.
Resolution for roller banner artwork
People usually look at a roller banner from 1–3 m away, so 100–150 ppi at full size is enough. Going higher adds nothing the eye can see and only makes the file heavier. For a visible area of 85 × 200 cm that means:
- 100 ppi — about 3346 × 7874 px, the minimum for background photos seen from 2–3 m;
- 150 ppi — about 5020 × 11 811 px, a safe value for product photos viewed close up.
At 150 ppi in CMYK such a file is around 240 MB uncompressed, so there is no reason to go further. What counts is effective resolution, measured after the photo has been scaled in your layout. A 24-megapixel photo (6000 × 4000 px) stretched to the full 200 cm height gives about 76 ppi. That is fine for a background seen from 2–3 m, but not for a product shot at eye level.
Place logos, text, icons and simple shapes as vectors. Vectors stay sharp at any size and barely add to the file. If you use drop shadows or blurs in Illustrator, open Document Raster Effects Settings and choose at least 150 ppi. Documents created from a screen profile default to 72 ppi there, which leaves jagged edges. Our guide to large-format print resolution has a full table for other displays.
Colour: CMYK, profiles and rich black
Large-format printers lay down ink rather than light, so print artwork is prepared in CMYK. In Europe the most common profile is Coated FOGRA39 (ISO Coated v2), with PSO Coated v3 (FOGRA51) increasingly used. Many large-format printers also accept RGB files, or PDF/X-4 files with RGB images, and convert them to the profile of their own machine and material. Ask which route your printer prefers.
- Large black backgrounds — use a rich black such as C60 M40 Y40 K100. Plain K100 over a large area looks greyish.
- Small black text — K100 only. Four-colour black on fine type can leave coloured fringes.
- Total ink — stay within your printer's limit, often around 300%. Too much ink slows drying and can cause runs.
- Brand colours — enter the CMYK values from your brand guidelines rather than converting HEX or RGB automatically.
Vivid screen colours such as neon green or electric blue always lose some punch in CMYK. Check them with Proof Colors in Photoshop (Ctrl+Y). Roller banner graphics are most often printed on blockout, such as Blockout Standard 330 g, which stops light from behind the stand showing through. See also our guides to CMYK, RGB and Pantone in print and large-format print materials.
Fonts, fine lines and QR codes
Before exporting the PDF, convert text to outlines (Type › Create Outlines in Illustrator, Convert to Curves in CorelDRAW) or make sure every font is embedded. Keep a separate copy with live text, because once the type is outlined a typo is no longer a one-click fix.
- Smallest text — on a pull up banner, keep capital letters at least about 2 cm tall. Anything smaller cannot be read from 2 m.
- Thin lines — lines thinner than about 0.5 pt may print unevenly or disappear.
- QR codes — make the code at least one tenth of the scanning distance, so about 15 cm for 1.5 m. Place it 100–150 cm above the floor and leave a white quiet zone of at least four modules around it.
- Images — embed them or package the project with all linked files (Package in InDesign).
PDF export settings that work
- Choose PDF/X-1a:2001 (flattens transparency, everything in CMYK) or PDF/X-4 (keeps live transparency and profiles), depending on what your printer asks for.
- Set compression to maximum-quality JPEG or ZIP. Turn downsampling off, or downsample to 150 ppi only for images above 225 ppi.
- Tick the option to use the document bleed settings.
- Leave out crop marks and colour bars unless the printer requests them.
- One graphic means one file with one page. Do not combine several banners in a multi-page PDF unless agreed.
- Give the file a clear name, such as company_rollerbanner-85_v3.pdf, and attach a low-resolution JPG preview.
Open the finished PDF in Acrobat Pro and check it with Preflight and Output Preview, which shows total ink coverage and any spot colours. Convert Pantone or other spot colours to CMYK if your printer is not expecting them.
Checklist before you send the file
- The document size matches the graphic size listed for your chosen model.
- Bleed follows the printer's specification and the background reaches its edge.
- Logo, headline and contact details sit inside the safe area, with nothing important near the floor.
- Photos have at least 100 ppi effective resolution at full size.
- Colours are CMYK or in the format agreed with the printer, and black backgrounds use rich black.
- Text is outlined or fonts are embedded.
- The phone number, web address and QR code have been checked on a test print or with a phone.
- The PDF has one page, no unnecessary marks and a descriptive name.
For a large order, ask for a 1:1 test print of a section. It shows photo sharpness and brand colours on the actual material before the whole run is printed.
Ordering a roller banner and its print
Choose the stand first, because the stand determines the graphic size. Our roller banners range from lightweight models to telescopic stands with graphic swap, and our display walls offer larger backdrops for an exhibition stand. The lightweight Compact roller banner starts from €22.96 incl. VAT, the sturdier Premium roller banner from €37.06 incl. VAT, and the Exclusive roller banner with its rounded base from €71.40 incl. VAT.
Compact roller banner – pull up stand 80–100 cm
from €22.96 incl. VAT3 versions
In stock — ships in 1–2 business days
Standard roller banner – pull up stand 85–150 cm
from €26.98 incl. VAT6 versions
In stock — ships in 1–2 business days
- Deal of the week
Premium roller banner – pull up stand 80–150 cm
from €37.06€52.36incl. VATLowest price in the 30 days before the discount: €52.365 versions
In stock — ships in 1–2 business days
Wave roller banner – telescopic pole, graphic swap
from €76.70 incl. VAT4 versions
In stock — ships in 1–2 business days
You can ask us about printing the graphic in a quote request or have it printed by any print shop. Every product page lists the graphic size. In-stock products ship within 1–3 working days with a VAT invoice, and companies and agencies can use B2B prices with a business account. For several units or repeat orders, send us a quote request.
Frequently asked questions
What size is the artwork for an 85 × 200 cm roller banner?
Artwork for an 85 × 200 cm roller banner is 85 cm wide but longer than 200 cm, because the bottom of the graphic winds onto the roller in the base and the top is held by the rail. The extra length is usually a dozen or more centimetres and depends on the model. We list the exact graphic size with every product. Add the bleed your printer requires, most often 3–5 mm on every side.
Does pull up banner artwork need bleed?
Yes. A 3–5 mm bleed on every side prevents a white sliver along the edge if the cut drifts by a millimetre or two. Extend backgrounds and photos to the edge of the bleed, and keep text and logos at least 3 cm inside the trim line. Some printers want a file without bleed or extra length at the bottom, so always check their specification before exporting.
What DPI should roller banner artwork be?
At full size, 100–150 ppi is enough, because a roller banner is viewed from 1–3 m. Use 150 ppi for product photos and fine detail, while 100 ppi is fine for background images. A higher resolution will not look any sharper, it will only make the file bigger. Create logos and text as vectors, so resolution does not apply to them at all.
Can I send roller banner artwork in RGB?
It depends on the printer. The standard is CMYK with the profile your printer specifies, such as Coated FOGRA39. Some large-format printers, however, prefer RGB files or PDF/X-4 with RGB images, because they convert them to the profile of their own machine and material. If you send RGB, embed the colour profile and give brand colours as CMYK or Pantone values from your brand guidelines.
Is a JPG good enough for printing a pull up banner?
Most printers will accept a maximum-quality JPG or a TIFF if the whole design is a bitmap at the right size and resolution. Text in such a file is made of pixels, though, so small lettering may print less crisply than in a PDF. The safest option is a PDF/X with outlined text or embedded fonts. Avoid saving a JPG repeatedly, because every round of compression reduces quality.