
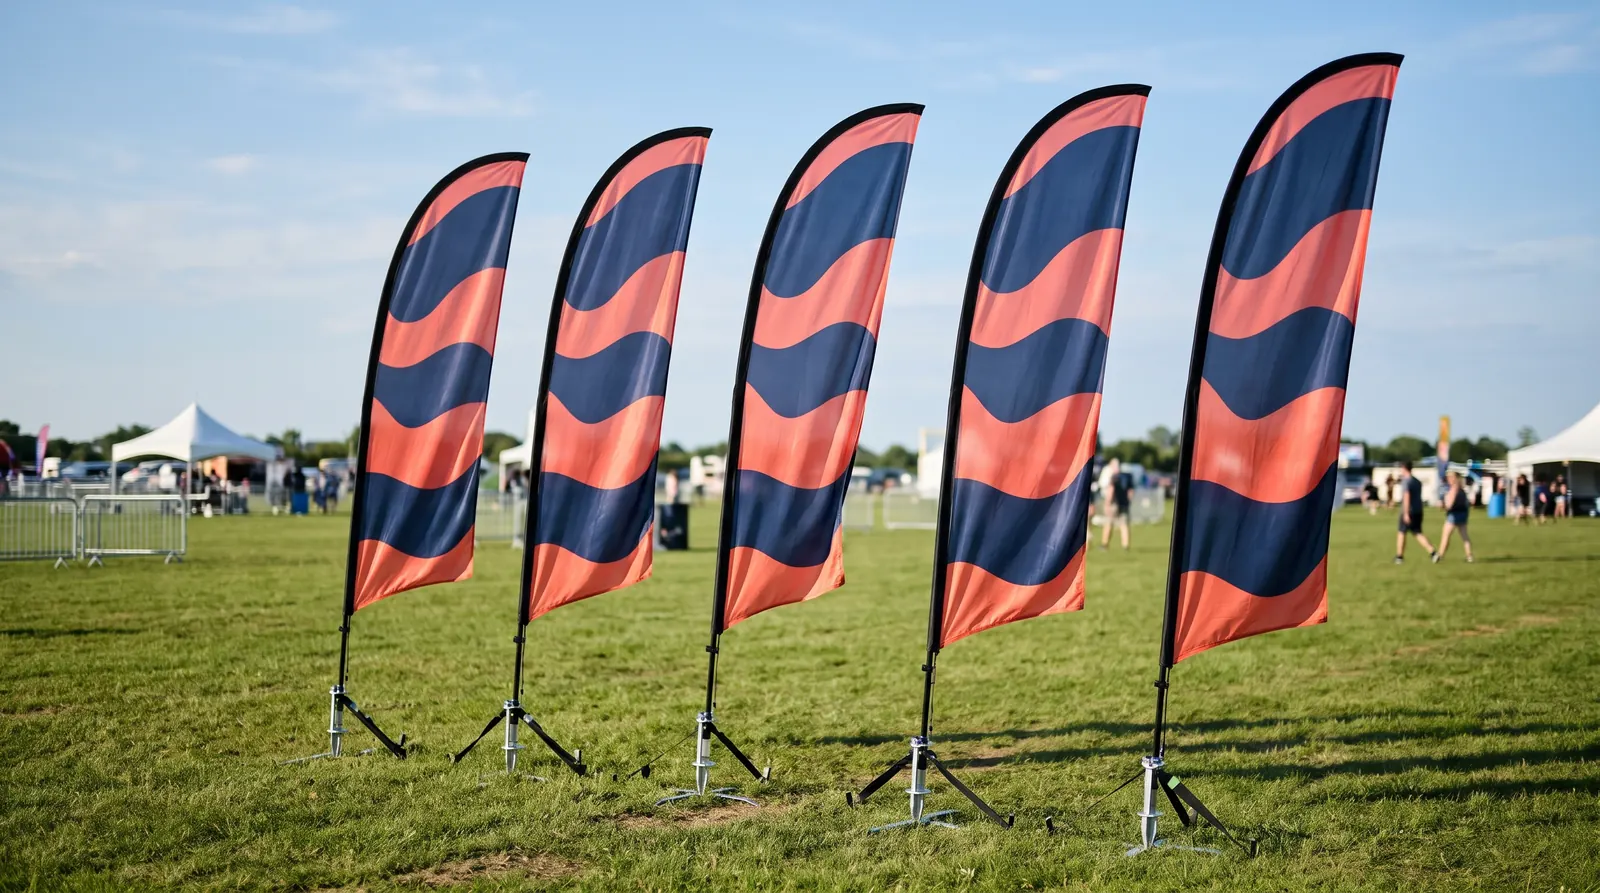
How to assemble a feather flag — the short version
Putting up a feather flag always follows the same order: base first, then the pole, the flag, the tension cord and finally the pole into the base. Once you know your set, it takes a few minutes and needs no tools. The exception is a base that you drive or screw into the ground, where a little effort is needed.
This guide covers a typical set with a sectional pole such as the Flagpole Standard. The first time, also read the instructions that come with the pole and base, because the connections differ between models.
Sets with a tubular pole, such as the tubular feather flagpole, go up the same way. The difference lies mainly in how the parts connect and how they are packed, as tubular poles come either with a storage sack or a bag. The order of work and the way you tension the flag stay the same.
What to have ready
- Pole — all sections plus the flexible tip. On the Flagpole Standard the tip is fibreglass and a tension-cord hook is included.
- Flag — made for your pole model and length. A flag from another system will not tension properly.
- Base — with its ballast: water for a water base, a water weight bag for a cross base or a rubber mallet for a ground spike.
- Rotator — if your base does not have one and you want the flag to turn with the wind, add a compatible flagpole rotator.
Choose a spot away from overhead power lines, emergency exits and the kerb. Check that the flag will not catch on an awning, branches or a lamp post once it is up. On land you do not own, make sure you have the landowner's or manager's permission.
Feather flag assembly step by step
- Check the set
Lay out every part: pole sections, flexible tip, flag and base. Make sure the flag matches the pole model and length and that no section is bent or cracked.
- Prepare the base
Fill the water base to the top, lay out and weigh down the cross base, or drive in the spike or screw in the ground anchor. Place a plate or rubber base on level ground.
- Join the pole sections
Connect the sections in the order given in the instructions, pushing each one fully home. The flexible fibreglass tip always goes at the very top of the pole.
- Slide the pole into the sleeve
Hold the pole at an angle and feed the flag sleeve onto it, starting from the tip. Work the fabric along bit by bit until the tip reaches the very top of the flag.
- Tension the flag
Attach the cord or elastic at the bottom of the flag to the hook on the pole. The pole bends into a curve and the flag takes its proper shape. Tension it enough to remove wrinkles, without forcing the pole.
- Set the pole in the base
Slide the bottom section onto the base spindle or rotator until it stops. With a car wheel base, drive onto the plate first and only then fit the pole.
- Check it is stable
Look at the flag from several sides: is it upright, clear of obstacles and turning freely on the rotator? Face the artwork towards approaching customers or traffic.
- Take it down and pack it away
Dismantle the set in reverse order. Dry a wet flag, separate the sections from the top and pack everything into the sack or bag. Empty the water base before long-term storage.
How to prepare the flag base
Water base
Fill the base right to the top and screw the cap on firmly. A half-filled base is lighter and easier to knock over. The water-fillable base with spindle and the water base with rotator already have a fitting for the pole. In winter, bear in mind that freezing water can damage the tank, so check the guidance in the instructions.
Cross base
Lay the tubular cross base on level ground so that all four arms touch the surface. Add extra weight on top, such as a filled water weight bag. The cross base itself is light, so without ballast it is really an indoor option.
Ground spike and ground screw
Drive the ground spike vertically into grass or soil to its full length, ideally with a rubber mallet. Screw the ground screw anchor all the way in. In loose sand and very soft soil a spike holds less well. Before driving anything in, make sure there are no cables or pipes underneath.
Base plate, rubber base and car wheel base
Place a metal base plate or rubber base on a flat surface. Rubber feet for the plates help protect indoor floors from scratches. With a car wheel base, drive the wheel onto the plate before fitting the pole, and do not move the car while the flag is up.
For a comparison of every type, read our guide on how to choose a flag base.

Flagpole Standard
from €16.43 incl. VAT4 versions
In stock — ships in 1–2 business days
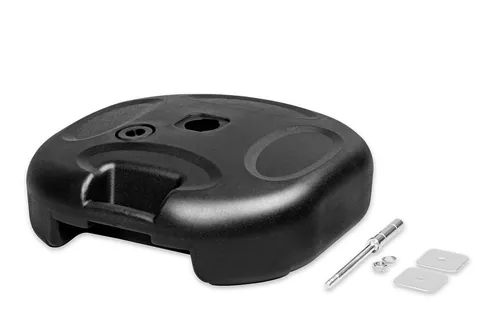
Water-fillable base with spindle
€23.22 incl. VATIn stock — ships in 1–2 business days
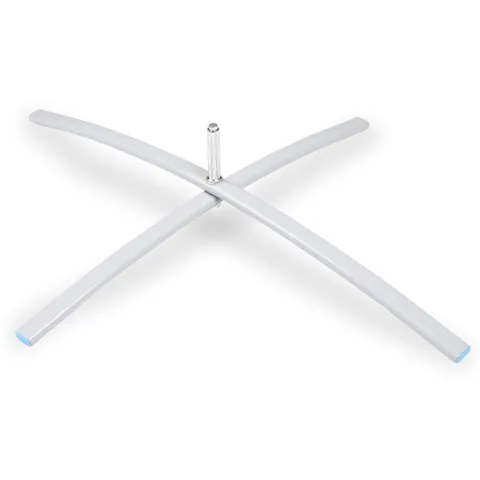
Tubular cross flag base — grey
€18.31 incl. VATIn stock — ships in 1–2 business days
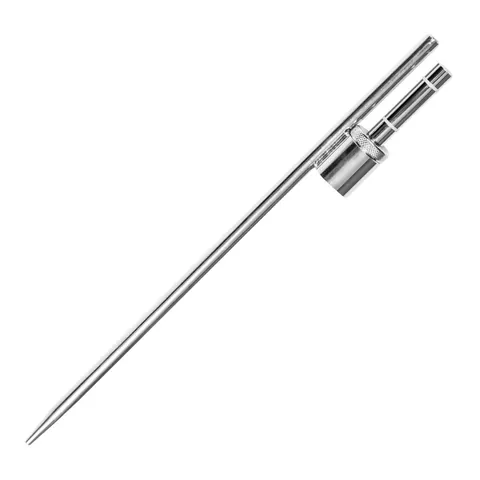
Bagnet ground spike
€15.37 incl. VATIn stock — ships in 1–2 business days
Several flags on one site
At an event entrance, along a car park or outside a showroom, flags usually stand in a row. To keep the row neat, work in stages:
- Place the bases — set out all the bases first, evenly spaced. Leave enough room so the flags do not touch when they turn in the wind.
- Assemble the poles — join the sections of every pole and lay them next to the bases.
- Fit the flags — fit and tension the flags one by one, always with the same cord tension.
- Line them up — finally, stand where your customers will look from and adjust the artwork.
For a flag next to a gazebo, use a gazebo-mounted flag base and check that the flag does not hit the roof or walls when it turns.
Common assembly mistakes
- Sections in the wrong order — the flexible tip always goes at the top. Upside down, the pole will not bend into the right curve.
- Pole not pushed fully into the sleeve — if the tip does not reach the top of the flag, the top droops and the fabric wrinkles.
- Cord too slack — the flag loses its shape and flaps. Over-tightening, on the other hand, puts too much strain on the pole.
- A half-filled or unweighted base — the most common reason flags fall over.
- Assembling in strong wind — the fabric acts like a sail and pulls the pole out of your hands. Wait for the wind to drop.
Taking down and storing the flag
Take the flag down in reverse order: lift the pole out of the base, release the cord, slide the flag off the pole and separate the sections from the top. Do not pull on the fabric alone, as you may tear the sleeve. Dry a wet flag before packing it, otherwise it can mark and start to smell.
Store the sections and flag in their sack or bag, away from sharp edges. Empty a water base if the set will sit in storage for a long time. For more care tips, see our article on cleaning and storing display systems, and for windy days read feather flags in wind.
What next
You will find poles in our flagpoles category and bases under flag bases. If you are still choosing a shape, start with our guide to feather flag types. For larger numbers of flags or sets for several sites, send a quote request and we will prepare a quote with B2B prices.
Frequently asked questions
How long does it take to put up a feather flag?
Once you know your set, putting up a feather flag usually takes a few minutes. Preparing the base takes longest: filling a water base, driving in a spike or screwing in a ground anchor. Allow more time the first time and read the pole and base instructions. If you are setting up several flags in a row, place all the bases first, then assemble the poles and fit the flags one after another.
Can one person put up a feather flag?
Yes, one person can handle a typical feather flag. You join the sections standing up and slide the flag onto the pole while holding it at an angle. A second pair of hands helps with the tallest poles, with several flags at once and in even moderate wind, when the fabric starts to tug. Carry heavy rubber bases and plates with care, as they weigh from a few kilograms up to almost twenty.
Why is my flag wrinkled or out of shape?
The usual causes are a pole that does not reach the top of the sleeve, a slack tension cord or a flag made for a different pole model or length. Also check the order of the sections, because the flexible tip must be at the top. If everything is assembled correctly and the flag still wrinkles, compare its size with the template for your pole. A sleeve that is too short or too long makes proper tensioning impossible.
Can I put up a feather flag in strong wind?
It is better not to. In strong wind the fabric acts like a sail, pulls the pole out of your hands and can knock over a half-built set. Wait for the wind to ease or move the flag to a sheltered spot. If the wind picks up while the flag is standing, take it down and follow the pole and base manufacturer's instructions. The safety of passers-by matters more than a few extra hours on display.